In the previous post, I told you that I built a website to help my wife manage the orders for her shopping service. This year, she registered to a marketplace to gain more customers. She can manage her goods and orders in that marketplace website. But, the marketplace website is still on development, there are some important features we cannot access, such as calculating the sales and profit. We have to calculate it manually and propose to withdraw the money.
In this post, I won’t tell you how I created the feature in my website (built with Django) to integrate with the marketplace service, getting the data and process it automatically. But, I will tell you how to add the custom page in Django Admin.
Django Admin Page
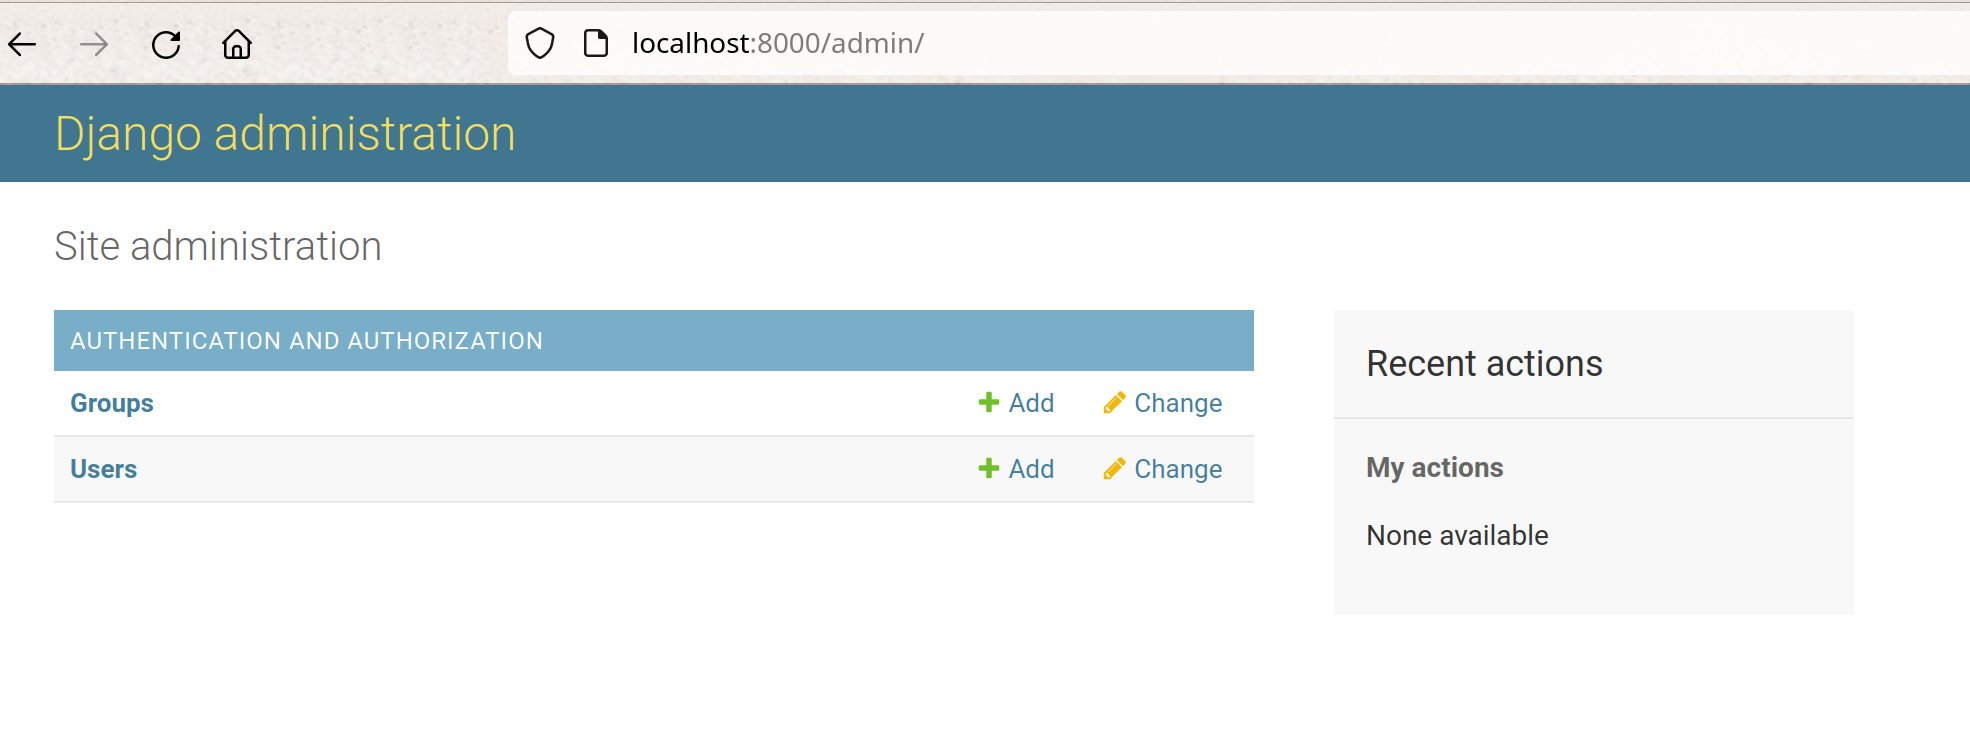
Before we add the custom page, I assume you can run the initial migration and create the user to login to Django Admin page.
Setting Up Templates Directory
First, we have to add the templates directory setting for the custom templates. Create the templates directory in the project root directory, then we add the directory in the ProjectName/settings.py
TEMPLATES = [
    {
        'BACKEND': 'django.template.backends.django.DjangoTemplates',
        'DIRS': [os.path.join(BASE_DIR, 'templates')],
        'APP_DIRS': True,
        'OPTIONS': {
            'context_processors': [
                'django.template.context_processors.debug',
                'django.template.context_processors.request',
                'django.contrib.auth.context_processors.auth',
                'django.contrib.messages.context_processors.messages',
            ],
        },
    },
]
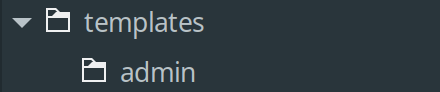
Then we create the admin directory under templates directory.
Create New App
After setting up the templates directory, we can create the new app for the custom app.
$ python manage.py startapp CustomApp
Create views.py inside CustomApp for the view function.
from django.template.response import TemplateResponse


def custom_app_view(request):
    context = {'title': 'Custom App View', 'site_title': 'Custom App View', 'site_header': 'Custom App Header',
               'index_title': 'Custom App', 'text': 'Custom App Text'}
    return TemplateResponse(request, 'admin/custom_app_view.html', context)
Then we create the template for custom app view in templates/admin/custom_app_view.html
{% extends 'admin/change_list.html' %}
{% block pagination %}{% endblock %}
{% block filters %}{% endblock filters %}
{% block object-tools %}{% endblock object-tools %}
{% block search %}{% endblock %}
{% block breadcrumbs %}
<div class="breadcrumbs">
<a href="{% url 'admin:index' %}">Home</a>
{% if page_name %} › {{ page_name }}{% endif %}
</div>
{% endblock %}
{% block result_list %}
{{ text }}
{% endblock result_list %}
Override the Admin Template
We have to override the admin template by creating the custom index for Django Admin. First, we need to create the admin.py inside the CustomApp.
from django.contrib import admin
from django.urls import path
from .views import custom_app_view


class CustomAppAdmin(admin.AdminSite):
    index_template = 'admin/custom_index.html'
    site_title = site_header = index_title = 'Custom App'

    def get_urls(
        self,
    ):
        return [
            path(
                "custom-app/",
                self.admin_view(custom_app_view),
                name="custom_app_index",
            ),
        ] + super().get_urls()


admin_site = CustomAppAdmin()
With get_urls function, we can add the custom url to the existing django urls. Then, we create html files related to admin view. We create templates/admin/custom_index.html
{% extends "admin/index.html" %}

{% block content %}
<div id="content-main">
  {% include "admin/custom_app_list.html" with app_list=app_list show_changelinks=True %}
</div>
{% endblock %}
We also create templates/admin/custom_app_list.html to override the app list, we add custom app menu in this file.
<div id="extra_links_wrapper" class="module">
    <table>
        <caption>
            <a class="section" title="Custom App">Custom App</a>
        </caption>
        <tr>
            <th scope="row">
                <a href="{% url 'admin:custom_app_index' %}">
                    Custom App
                </a>
            </th>
            <td></td>
        </tr>
    </table>
</div>

{% include 'admin/app_list.html' %}
Register New Admin Site
To register new admin site, we have to add the admin url inside ProjectName/urls.py
from django.urls import path
from CustomApp.admin import admin_site

urlpatterns = [
    path('admin/', admin_site.urls),
]
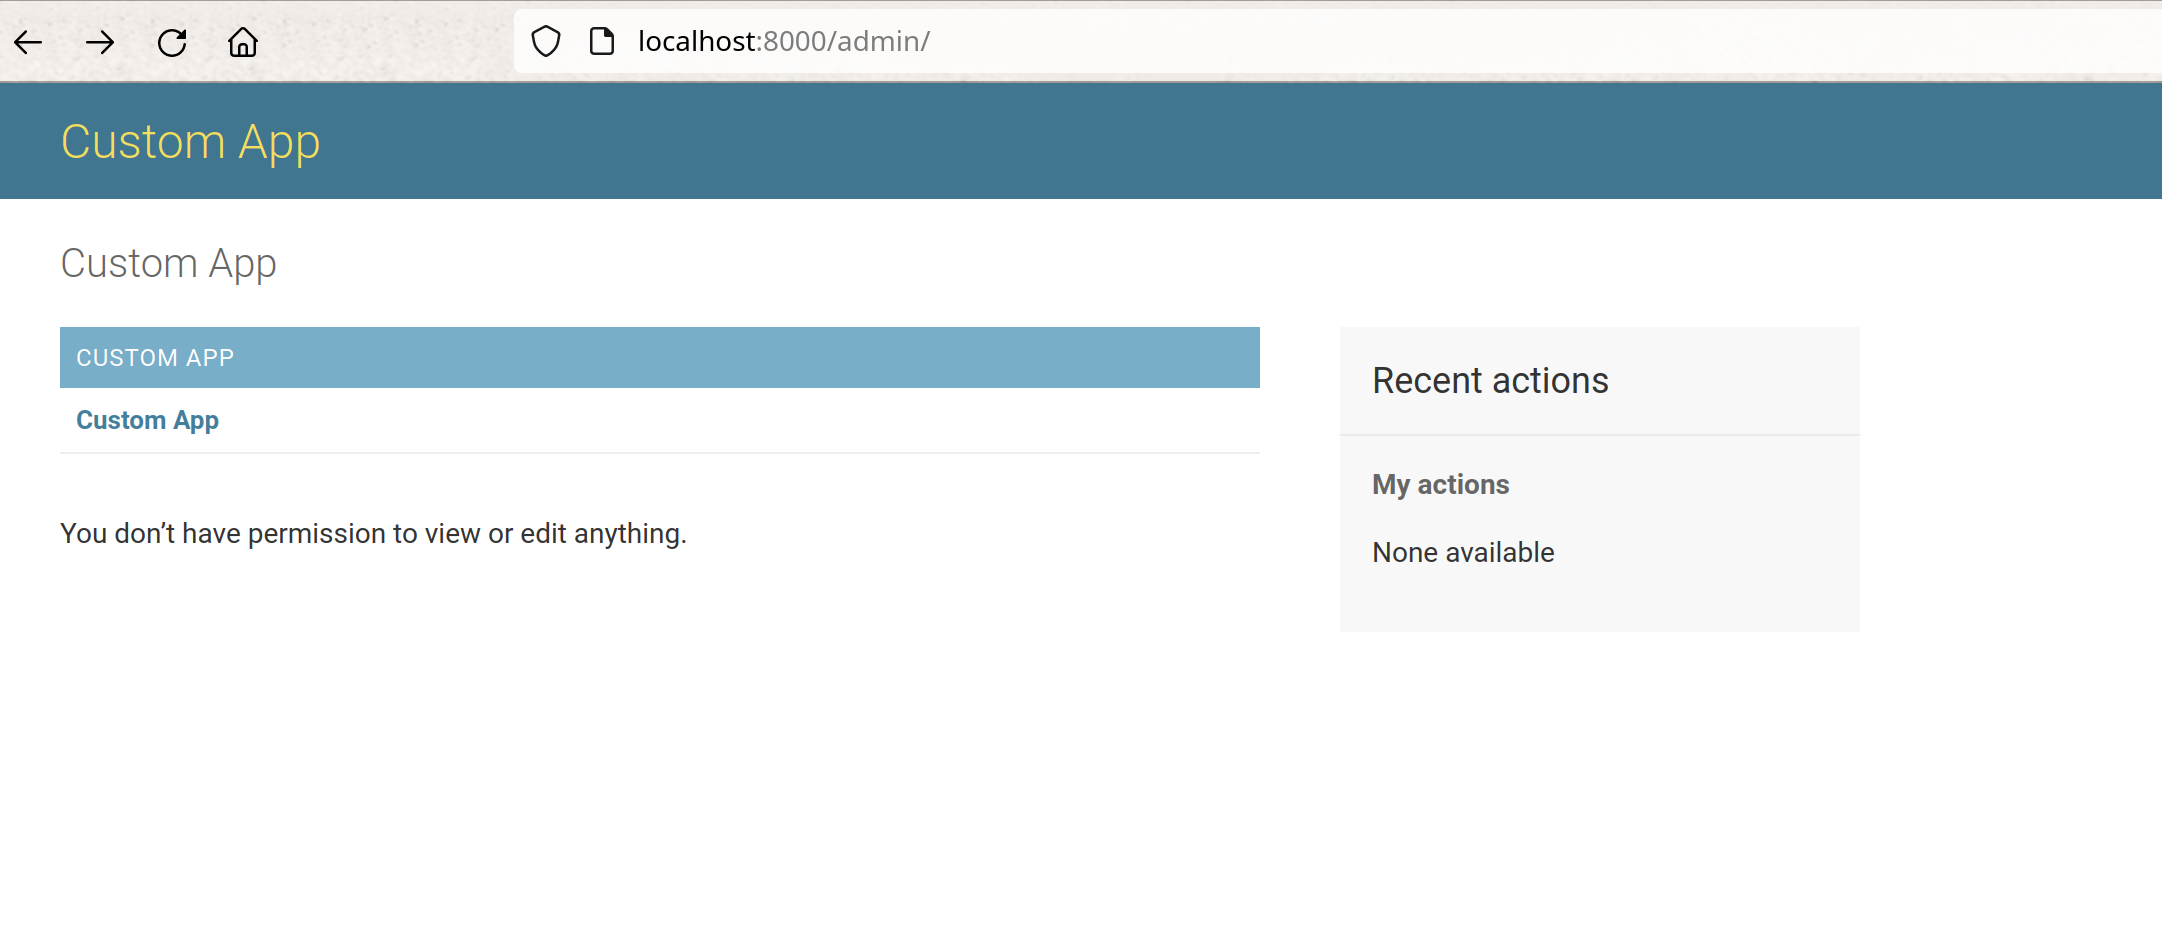
Custom Admin Index
After all those configurations, we can see that the admin index page has already changed.

But how about any other modules that already registered in the original Django Admin? Of course, we can re-register the existing apps. We just have to add register function in ProjectName/urls.py
from django.contrib import admin
from django.urls import path
from CustomApp.admin import admin_site

# register all registered module in admin
for model, _ in admin.site._registry.items():
    admin_site.register(model)


urlpatterns = [
    path('admin/', admin_site.urls),
]
Then we can see the auth module again.
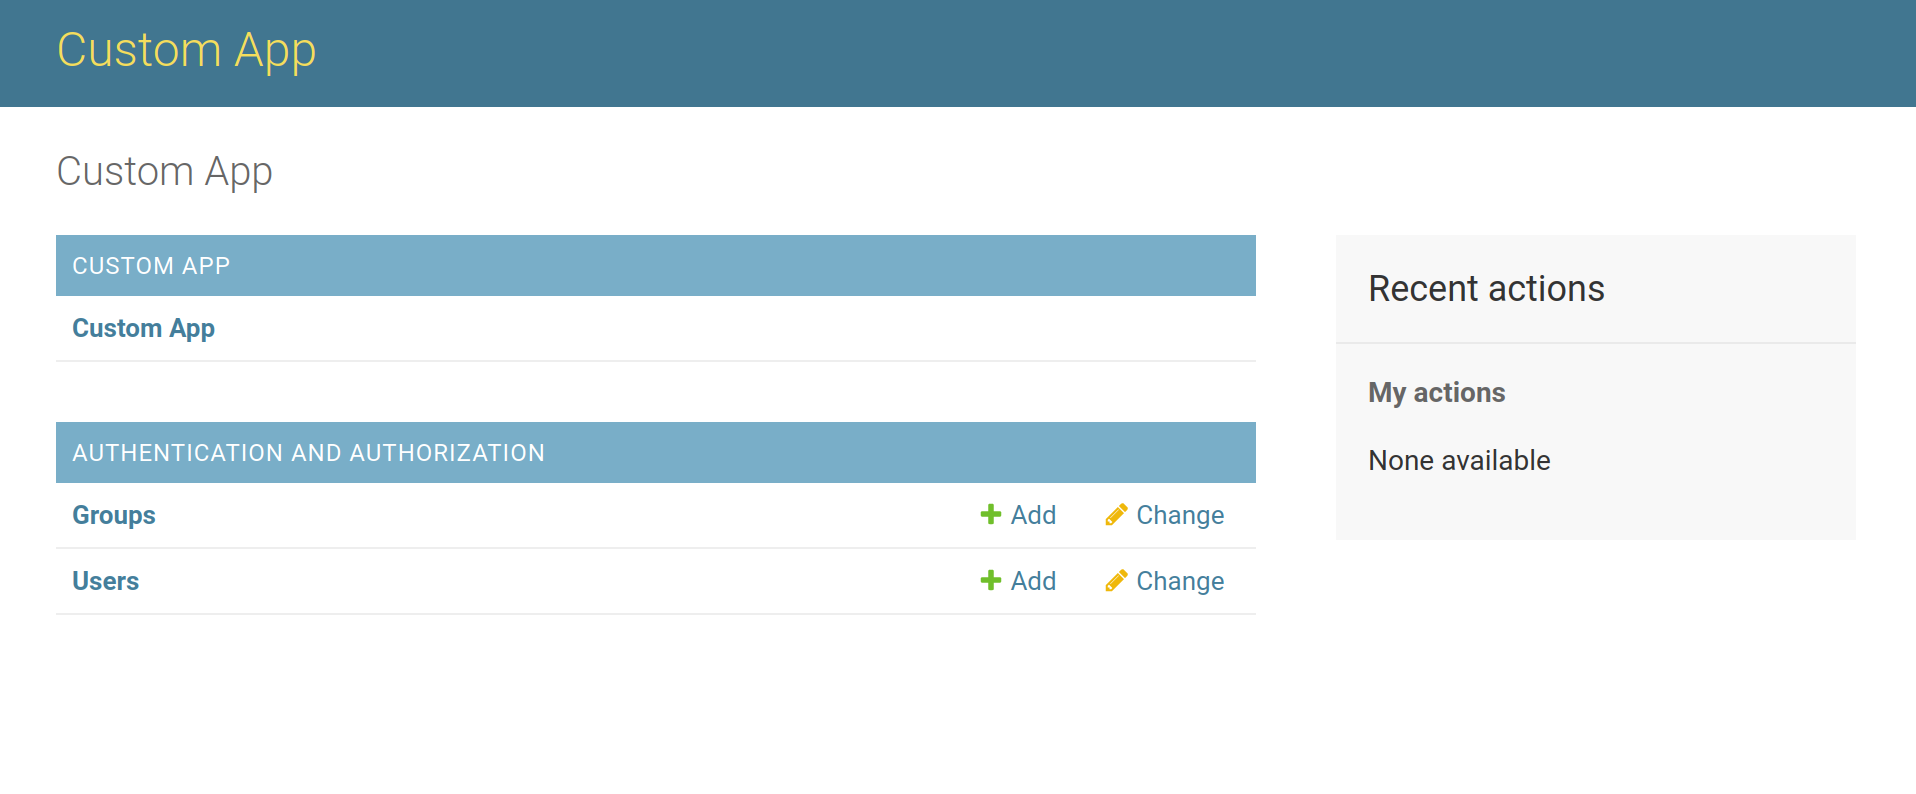
With registering the existing module to the new admin site, we can choose to register the new app directly to the django admin or custom admin.
Example
That’s all I can share about adding the custom page in Django Admin. If you want to see the example, you can find it on my Github.
Optional: Older Version
When creating this post, I was using Django version 4.1.3, but when I use the older version (I use version 3.0.7 to build my wife’s order management site), I got this error.
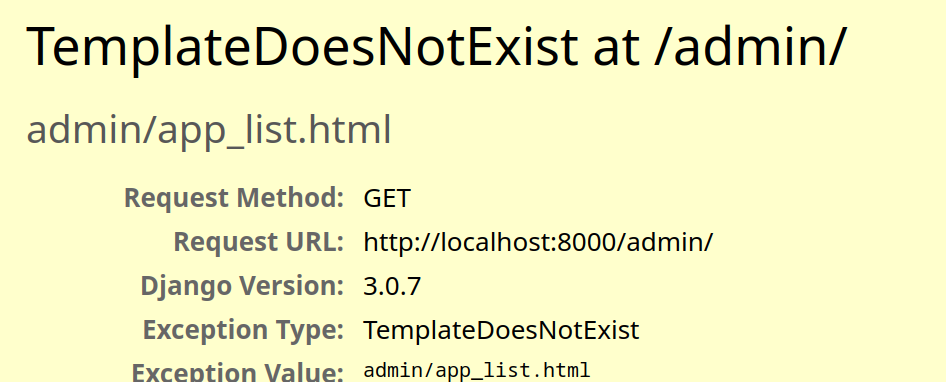
The reason why I got the error is because at that specific version, Django has no app_list.html file. So, you have to create it manually in templates/admin/app_list.html
{% load i18n %}

{% if app_list %}
  {% for app in app_list %}
    <div class="app-{{ app.app_label }} module{% if app.app_url in request.path|urlencode %} current-app{% endif %}">
      <table>
        <caption>
          <a href="{{ app.app_url }}" class="section" title="{% blocktrans with name=app.name %}Models in the {{ name }} application{% endblocktrans %}">{{ app.name }}</a>
        </caption>
        {% for model in app.models %}
          <tr class="model-{{ model.object_name|lower }}{% if model.admin_url in request.path|urlencode %} current-model{% endif %}">
            {% if model.admin_url %}
              <th scope="row"><a href="{{ model.admin_url }}"{% if model.admin_url in request.path|urlencode %} aria-current="page"{% endif %}>{{ model.name }}</a></th>
            {% else %}
              <th scope="row">{{ model.name }}</th>
            {% endif %}

            {% if model.add_url %}
              <td><a href="{{ model.add_url }}" class="addlink">{% trans 'Add' %}</a></td>
            {% else %}
              <td></td>
            {% endif %}

            {% if model.admin_url and show_changelinks %}
              {% if model.view_only %}
                <td><a href="{{ model.admin_url }}" class="viewlink">{% trans 'View' %}</a></td>
              {% else %}
                <td><a href="{{ model.admin_url }}" class="changelink">{% trans 'Change' %}</a></td>
              {% endif %}
            {% elif show_changelinks %}
              <td></td>
            {% endif %}
          </tr>
        {% endfor %}
      </table>
    </div>
  {% endfor %}
{% else %}
  <p>{% trans 'You don’t have permission to view or edit anything.' %}</p>
{% endif %}
Notes: some syntaxes such as trans and blocktrans are for specific Django version: 3.0.7 and below.
1 Comment
in url localhost:8000/admin/custom-app, how can i show menu logout or change password ?